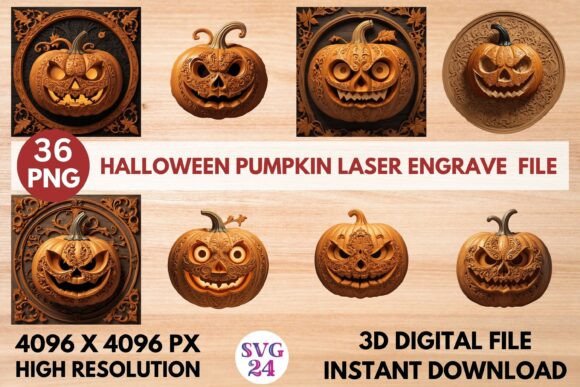
Mastering the Halloween Pumpkin Laser Engrave File for Professional Results
Creating seasonal decor that stands out requires more than just a laser cutter and a piece of wood; it demands precision, high-quality assets, and an understanding of how digital files translate into physical textures. The Halloween Pumpkin Laser Engrave File has become a staple resource for makers looking to elevate their autumn projects. However, many creators stumble not because their machines are inadequate, but because they misunderstand the specific requirements of 3D grayscale engraving. This guide clarifies common pitfalls and offers practical advice to ensure your pumpkin designs are crisp, deep, and visually striking.
Understanding the Difference Between Vector and Grayscale
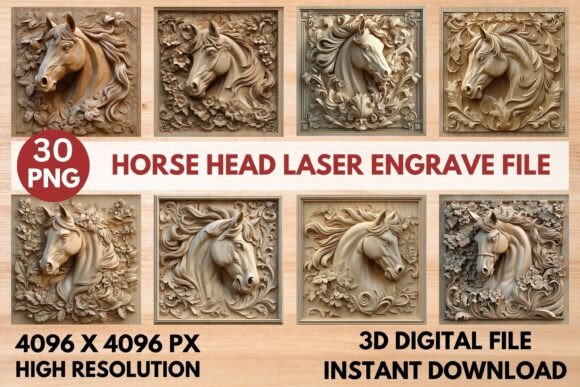
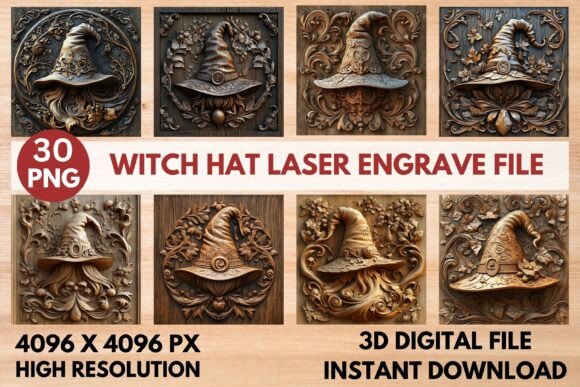
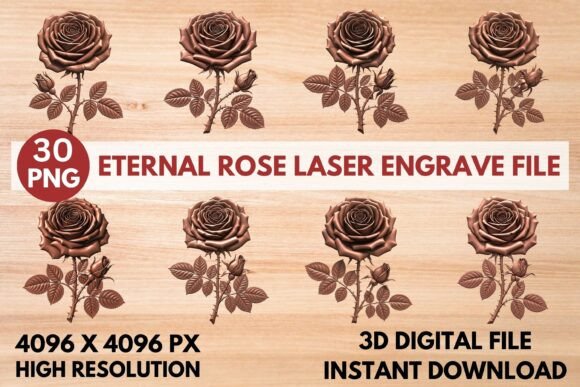
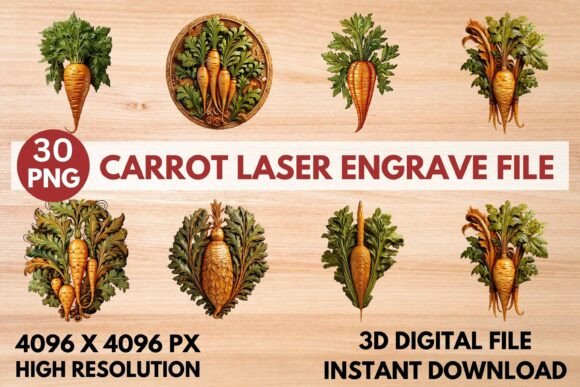
One of the most frequent mistakes beginners make is assuming all laser files work the same way. Traditional cutting uses vector SVGs, which tell the laser where to cut lines. In contrast, a Halloween Pumpkin Laser Engrave File designed for 3D effects relies on raster data, specifically high-resolution PNGs. These files use varying shades of gray to dictate laser power. Black areas receive full power for deep engraving, while white areas receive little to no power, leaving the surface untouched. Gray tones create the intermediate depths that give the pumpkin its three-dimensional appearance.
If you attempt to use a standard black-and-white line art file for this purpose, you will lose the depth and shading that define the 3D effect. Always verify that your file is a true grayscale image with a transparent background, typically at a resolution of 4096x4096 pixels or higher. Lower resolutions result in pixelation, which becomes painfully obvious when engraved on smooth surfaces like maple or acrylic.
Material Selection and Surface Preparation
Even the best Halloween Pumpkin Laser Engrave File will fail if applied to the wrong material. Light-colored woods such as basswood, birch, or maple are ideal because they provide high contrast between the burnt engraving and the natural wood tone. Dark woods like walnut or cherry absorb the laser’s visual impact, making the subtle gradients of a 3D design difficult to distinguish.
Another overlooked detail is surface consistency. Knots, grain variations, and uneven sanding can distort the grayscale mapping. Before loading your material, inspect it for imperfections. Sanding your wood to at least 220 grit ensures a uniform surface, allowing the laser to interpret the grayscale values accurately. For non-wood materials like leather or paper, test scraps are essential. Leather reacts differently to heat, often darkening significantly, which may require adjusting the power settings lower than what is recommended for wood.
Optimizing Settings for Glowforge and LightBurn
Machine compatibility is crucial, but default settings are rarely perfect for every unique file. For Glowforge users, the recommended starting point for this type of design is a speed of 1000 mm/min and power at 90%, with grayscale mode enabled. However, these numbers are not universal laws. Factors such as lens cleanliness, focal height, and ambient temperature can alter results. It is wise to run a small test square from the corner of your design to fine-tune these parameters.
LightBurn users have more granular control over dithering algorithms. Jarvis dithering is often recommended for photographic or 3D grayscale images because it distributes error diffusion in a way that preserves detail without creating distracting patterns. Avoid using simple thresholding, which converts grays to pure black or white, destroying the 3D effect. Always check the "Grayscale" box in the layer settings and ensure your DPI (dots per inch) matches the file’s resolution, typically around 270 LPI (lines per inch) for balanced detail and speed.
The Importance of File Integrity and Resolution
When downloading a Halloween Pumpkin Laser Engrave File, ensure you are receiving the full package. Premium designs often include multiple variations, such as 18 grayscale PNGs and 18 coloring PNGs, all at 4096x4096 pixels. A common error is purchasing low-resolution previews or compressed files that lack the necessary data density. Resizing a small image up to fit a larger project introduces blur and artifacts, ruining the crisp edges needed for professional-looking decor.
Additionally, remember that these PNG files are not editable vectors. You cannot change the shape of the pumpkin or adjust individual lines as you would with an SVG. Instead, you can resize the entire image proportionally. If you need to combine the pumpkin with other elements, do so in your layout software before sending it to the laser, ensuring that the grayscale integrity remains intact.
Avoiding Common Workflow Errors
Efficiency in laser crafting comes from preparation. One major time-waster is failing to mask the material. While some woods do not require masking, using painter’s tape or transfer tape can prevent smoke residue from staining the unengraved areas. This is particularly important for intricate 3D designs where cleaning soot out of deep crevices is difficult. After engraving, gently peel off the mask to reveal a clean, sharp design.
Another mistake is ignoring the orientation of the wood grain. Engraving across the grain can sometimes produce a smoother finish, while engraving with the grain may highlight texture inconsistencies. Experiment with both orientations on scrap pieces to see which yields the best visual result for your specific wood type.
Final Checks Before Production
Before committing to a full sheet of material, perform a final review. Check the focus of your laser lens, ensure the air assist is functioning to blow away debris, and confirm that your file is correctly aligned in the software. Verify that the transparent background is recognized by your software; a white background instead of transparent can cause the laser to engrave the entire surface, wasting time and damaging the material.
By understanding the technical nuances of grayscale engraving, selecting appropriate materials, and fine-tuning your machine settings, you can transform a simple digital file into a stunning physical artifact. The Halloween Pumpkin Laser Engrave File is a powerful tool, but its potential is only realized through careful application and attention to detail. Whether you are creating haunted signage, custom gifts, or decorative tableware, these practices will help you achieve consistent, high-quality results that impress clients and hobbyists alike.