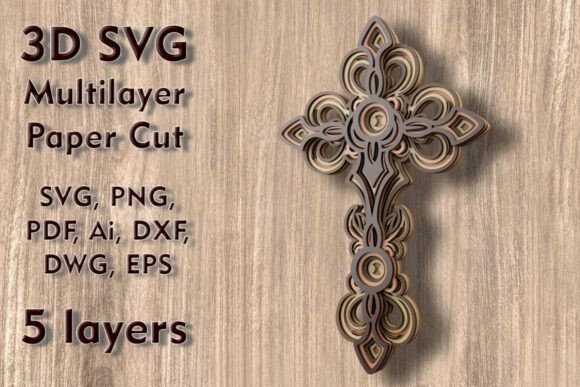
Mastering the Art of Depth: A Guide to Cross 3D SVG Multilayer PaperCut Files
The intersection of traditional craftsmanship and modern digital fabrication has opened new avenues for interior design enthusiasts and professional makers alike. Among the most compelling projects in this space is the creation of dimensional wall art using layered vector designs. Specifically, the Cross 3D SVG Multilayer PaperCut Files represent a sophisticated approach to religious and spiritual home decor, blending symbolic meaning with architectural depth. This guide explores the technical nuances, material considerations, and creative possibilities inherent in working with these five-layered designs, offering a comprehensive look at how to transform digital files into tangible masterpieces.
Understanding the Mechanics of Layered Vector Design
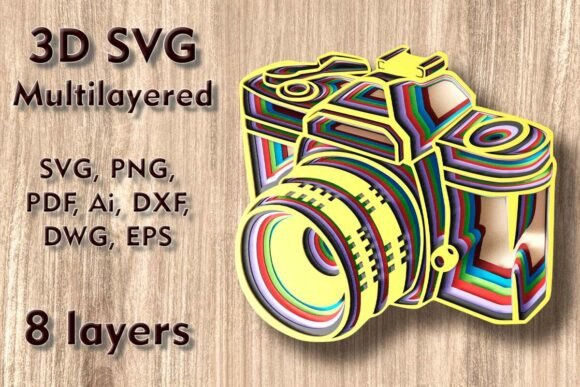
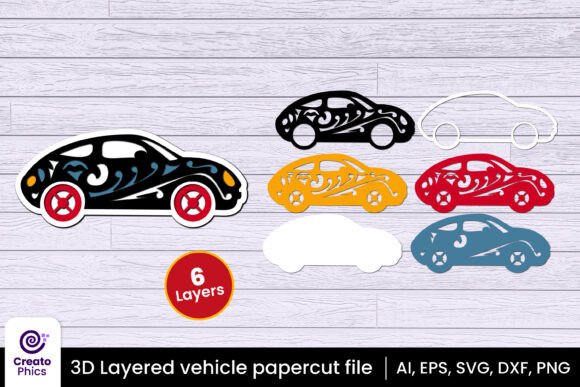
At its core, a multilayered SVG file is not merely a single image but a collection of distinct geometric shapes stacked in a specific order to create an illusion of three-dimensionality. The Cross Mundala Svg design typically consists of five separate layers. Each layer serves a specific purpose: the base provides structural integrity and background contrast, while subsequent layers add detail, shadow, and focal points. When assembled, these layers create physical depth that flat prints cannot achieve.
The precision required for such projects is high. The design features intricate details, including thin connecting elements and delicate curves that define the mandala patterns surrounding the central cross motif. Understanding how these layers interact is crucial for successful execution. The spacing between layers, often determined by the thickness of the chosen material or added foam tape, significantly impacts the final visual effect. Proper alignment ensures that the shadows cast by upper layers enhance the lower ones, creating a dynamic interplay of light and form that changes throughout the day as ambient lighting shifts.
Material Selection and Structural Integrity
One of the most significant advantages of using versatile digital formats like DXF, DWG, and SVG is the ability to experiment with a wide range of materials. The choice of substrate fundamentally alters the aesthetic and durability of the final piece. For the Cross 3D SVG Multilayer PaperCut Files, creators commonly utilize plywood, paper, cardstock, MDF, wood, acrylic, cardboard, and even aluminum. Each material presents unique challenges and opportunities.
- Plywood and Wood: Ideal for permanent wall installations, wood offers warmth and natural grain texture. Laser cutting plywood requires careful power settings to avoid charring edges, which can detract from the clean lines of the mandala design.
- Paper and Cardstock: Perfect for framed art or greeting cards. These materials allow for sharp, crisp cuts on electronic cutting machines like Cricut or Silhouette. However, they are more susceptible to humidity and physical damage, making them better suited for protected indoor environments.
- Acrylic: Provides a modern, sleek look. Acrylic layers can be transparent or opaque, allowing for creative lighting effects where backlighting can illuminate the cross motif from behind.
- MDF and Cardboard: Cost-effective options for large-scale prototypes or temporary displays. MDF paints beautifully, allowing for custom color schemes that match specific interior design palettes.
When selecting materials, it is vital to consider the structural rigidity required for a piece measuring 250 x 160 mm (9.9 x 6.3 inches). Thinner materials like paper may require a rigid backing frame to prevent warping, while heavier materials like aluminum may need robust mounting hardware to secure them to the wall safely.
Navigating Scale and Proportion Constraints
A critical aspect of working with pre-designed vector files is understanding scalability. The standard size for this particular design is 250 x 160 mm. While digital vectors are theoretically infinitely scalable, practical limitations exist. Increasing the size is generally straightforward and often enhances the visibility of the intricate mandala details. Larger formats allow for more dramatic shadow play and can serve as statement pieces in living rooms or entryways.
However, reducing the design size requires extreme caution. The Cross 3D SVG Multilayer PaperСut Files contain thin elements that are essential to the overall aesthetic. If the design is scaled down too aggressively, these fine lines may become too fragile to cut cleanly or may break during the weeding and assembly process. For laser cutters, small details might burn away entirely if the kerf width exceeds the line thickness. Therefore, it is recommended to maintain the original dimensions or scale up, rather than scaling down, unless testing with high-precision equipment capable of handling micro-details.
Workflow Optimization for Cutting Machines
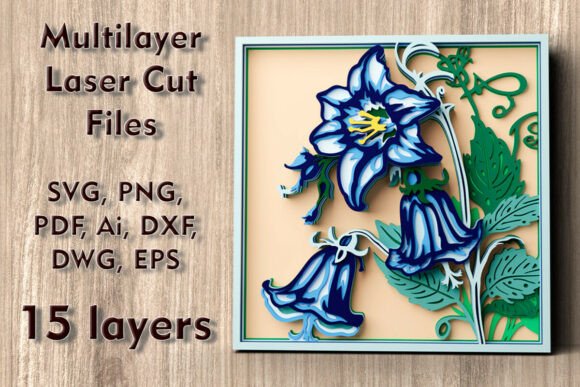
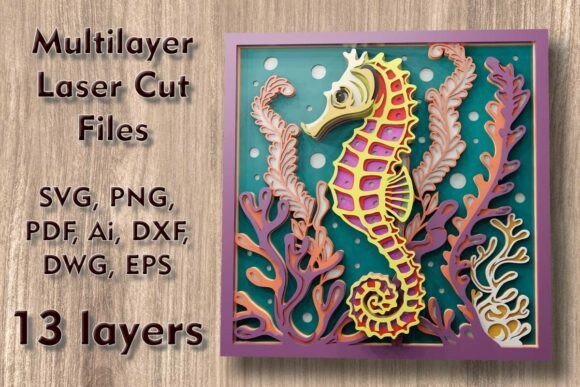
The versatility of the provided file formats—SVG, layered SVG, DXF, DWG, EPS, AI, PNG, and PDF—ensures compatibility with virtually all major cutting and engraving technologies. Whether you are using a desktop die-cutter or an industrial CNC router, the workflow can be optimized for efficiency and precision.
For Electronic Cutters (Cricut, Silhouette)
Users of blade-based machines should prioritize the layered SVG files. These files keep each of the five layers separate, allowing for easy sorting and color-coding within the design software. It is advisable to cut the largest base layers first to ensure material stability. Using a strong-grip mat is essential, especially when cutting intricate paper or cardstock designs, to prevent shifting during the cutting process. Weeding tools with fine tips are necessary to remove the negative space from the delicate mandala patterns without tearing the connected bridges.
For Laser Cutters and CNC Routers
Laser users, such as those with Glowforge machines, will benefit from the DXF or AI files, which offer precise path definitions. Setting the correct power and speed is paramount to achieving clean edges without excessive charring, particularly on wood and acrylic. For CNC routing, the DWG or DXF formats are ideal. Users must account for the bit diameter when setting toolpaths to ensure that the internal cutouts of the cross and mandala are accurate. Clamping the material securely is crucial to prevent vibration, which can lead to inaccuracies in the layered alignment.
Assembly Techniques for Professional Results
The transformation from flat cutouts to a 3D masterpiece occurs during assembly. This stage requires patience and attention to detail. To achieve the desired depth, spacers are used between each of the five layers. Common spacer materials include foam tape, wooden dowels, or specialized 3D-printed standoffs. The height of the spacers determines the intensity of the shadows; greater distance creates deeper, softer shadows, while closer spacing results in sharper, more defined contrasts.
Alignment is key. Using registration marks or a lightbox can help ensure that each layer is perfectly centered over the previous one. Adhesives should be chosen based on the material; spray adhesives work well for paper and cardstock, providing an even bond without wrinkling, while epoxy or super glue is better suited for wood, acrylic, and metal. It is often helpful to assemble the piece in stages, checking alignment after every two layers to correct any drift before it becomes irreversible.
Applications Beyond Wall Decor
While the primary application for the Cross 3D SVG Multilayer PaperCut Files is home wall decor, the design’s versatility allows for broader creative use. The same files can be adapted for creating intricate greeting cards, where the layers are folded or popped up to create a surprise element upon opening. Gift boxes can be embellished with smaller versions of the cross mandala, adding a personalized touch to presents for religious holidays or special occasions.
Educators and workshop leaders can use these files to teach principles of geometry, symmetry, and engineering. The process of assembling the layers demonstrates concepts of tolerance, fit, and structural support. Furthermore, community centers and places of worship might utilize larger-scale versions of this design for event decorations, creating immersive environments that reflect spiritual themes through art.
Enhancing Aesthetic Appeal with Finish and Lighting
The final appearance of the project can be significantly enhanced through thoughtful finishing techniques. Painting the edges of wood or MDF layers can create a seamless look, while leaving natural wood edges exposed adds rustic charm. For a modern twist, metallic paints or leafing can be applied to specific layers to highlight the cross motif against a matte background.
Lighting plays a transformative role in 3D paper cut art. Installing LED strip lights behind the frame can backlight the piece, causing the semi-transparent layers to glow and emphasizing the silhouette of the cross. Alternatively, directional spotlights from above can accentuate the texture and depth of the layers, casting dramatic shadows that evolve throughout the day. This interaction with light turns the static object into a dynamic visual experience, reinforcing the spiritual symbolism of illumination and guidance associated with the cross.
By carefully selecting materials, respecting scale limitations, and employing precise assembly techniques, creators can unlock the full potential of these digital designs. The result is not just a decorative item, but a testament to the harmony between technology and tradition, offering a meaningful addition to any space.