Mastering the Halloween Paper Cut Layered Design Workflow for Professional Craft Projects
Integrating a Halloween Paper Cut Layered Design into your creative workflow requires more than just downloading a file and hitting "cut." For professionals, small business owners, and serious hobbyists, the difference between a good project and a standout product lies in preparation, material selection, and assembly precision. This digital asset serves as a foundational element for creating depth-driven decor, from intricate shadow boxes to elegant greeting cards. By understanding how this specific design interacts with your cutting machine and your broader production timeline, you can streamline your output while maintaining high-quality standards.
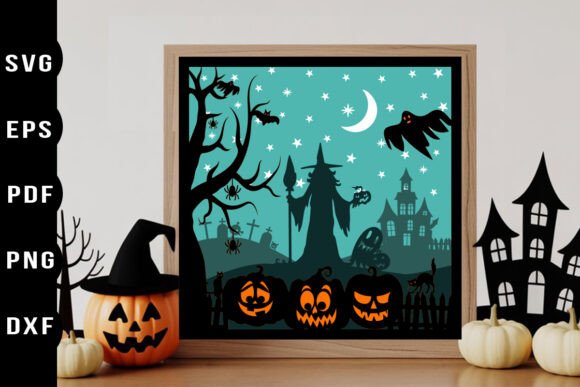
The appeal of layered papercut art is its ability to transform flat materials into three-dimensional narratives. When applied to seasonal themes like Halloween, the interplay of light and shadow becomes a critical design feature. This guide explores how to effectively implement these designs into your existing processes, ensuring compatibility, efficiency, and aesthetic consistency across your projects.
Understanding the Asset Structure and Compatibility
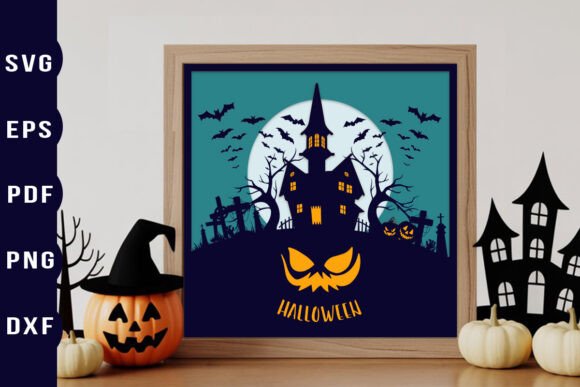
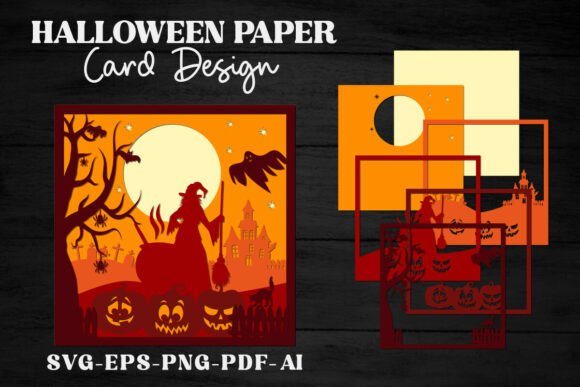
Before beginning any physical production, it is essential to understand the digital architecture of the files you are working with. A professional-grade Happy Halloween 3D layered papercut design typically comes in multiple formats to accommodate different stages of the workflow. The inclusion of SVG, EPS, AI, PNG, and PDF files ensures that whether you are using a desktop cutting machine or manual tools, the asset remains versatile.
For users of electronic cutting machines such as Cricut, Silhouette, or Brother ScanNCut, the SVG files are the primary workhorse. These files contain colored, separated layers that correspond to specific cut lines. This separation is crucial because it allows the software to recognize distinct elements that need to be cut from different sheets of cardstock or vinyl. The fact that these layers are pre-separated saves significant time in the design phase, allowing you to focus on material pairing rather than vector editing.
If your workflow involves hand-cutting or if you are teaching a workshop where digital machines are not available, the included PDF files with contour-flipped layers are invaluable. These printable versions provide clear visual guides, ensuring that even manual execution maintains the intended structural integrity of the design. The high-resolution PNG files, at 5000x5000px and 300 DPI, serve a different purpose entirely. They are ideal for digital mockups, social media previews, or sublimation printing, allowing you to visualize the final product before committing expensive materials to the cutter.
Pre-Production Planning and Material Selection
Successful implementation of a layered design begins long before the blade touches the paper. The "3D look" promised by these assets is achieved through careful spacing and contrast. Therefore, your material selection process must account for both weight and color saturation. Standard copy paper is rarely sufficient for structured layered art; instead, opt for cardstock ranging from 65lb to 110lb weight. Heavier stocks provide the rigidity needed for standing elements in shadow boxes, while lighter weights may be preferable for delicate lanterns where light diffusion is key.
Color theory plays a pivotal role in Halloween-themed projects. While traditional orange and black are staples, consider how deeper purples, midnight blues, or even stark whites can enhance the spooky atmosphere. When planning your cuts, map each layer to a specific color palette. Because the SVG files are fully editable in vector programs like Adobe Illustrator or Inkscape, you can adjust hues to match your brand identity or specific client requests before sending the job to the cutter. This level of customization ensures that the final product feels unique rather than generic.
Organization is another critical factor during pre-production. Label your materials clearly and keep your workspace free of debris. Since layered designs involve multiple identical or similar shapes cut from different colors, mixing up sheets can lead to costly errors. Establish a system where each layer of the design corresponds to a specific stack of prepared paper. This methodical approach reduces waste and speeds up the assembly phase significantly.
Execution: Cutting and Quality Control
When loading your design into your cutting software, take advantage of the scalable nature of the vector files. Whether you are creating a small gift tag or a large wall art piece, the resolution remains crisp. However, scaling up requires attention to detail regarding cut settings. Larger pieces may require slower cut speeds and higher pressure to ensure clean edges, especially when working with intricate details common in papercut art.
Quality control should happen immediately after cutting. Inspect each layer for incomplete cuts or torn edges. The beauty of a layered design relies on the precision of each individual component. If a layer is damaged, it is better to recut it immediately than to discover the flaw during assembly. For complex designs, use weeding tools to remove negative space carefully, ensuring that delicate bridges connecting internal shapes remain intact.
For those using the printable PDF versions for hand-cutting, the process demands patience and sharp tools. Use a self-healing mat and a fresh craft knife. The contour-flipped layers provided in the PDF help you visualize the depth, but steady hands are required to maintain the symmetry of the design. This manual approach, while slower, offers a tactile connection to the craft that many artisans find rewarding and can be a selling point for handmade goods.
Assembly Techniques for Maximum Impact
The assembly phase is where the Halloween Paper Cut Layered Design truly comes to life. To achieve the desired 3D effect, you must create physical distance between the layers. Foam adhesive squares are the industry standard for this purpose, offering varying thicknesses to control the depth of the shadow. For a subtle effect, use thin foam tape; for dramatic shadows, stack multiple layers of adhesive or use thicker spacers.
Start assembling from the background layer forward. Ensure that each subsequent layer is centered perfectly over the previous one. Misalignment at the base layers will compound as you move forward, resulting in a skewed final image. Use tweezers for placing smaller, intricate pieces. This precision is particularly important for facial features in Halloween motifs, such as eyes or teeth, which define the character of the design.
Consider the end-use of the project during assembly. If the design is intended for a shadow box, you may need to secure the layers to a backing board firmly. If it is for a lantern, ensure that the adhesives used are heat-resistant if real candles are involved, though LED lights are recommended for safety and longevity. For greeting cards, use thinner adhesives to prevent the card from becoming too bulky to mail or close properly.
Integrating into Business and Creative Workflows
For entrepreneurs and small business owners, these layered designs offer a scalable solution for seasonal product lines. Because the files are compatible with major cutting machines, you can produce items in batches efficiently. Create a standardized workflow where designs are pre-sorted, materials are pre-cut, and assembly is done in an assembly-line fashion. This reduces the time per unit and increases profit margins.
Educators and workshop leaders can use these assets to teach principles of design, geometry, and patience. The layered nature of the project makes it easy to divide tasks among students or participants, fostering collaboration. Each person can be responsible for cutting and preparing specific layers, which are then assembled together as a group project. This not only teaches technical skills but also emphasizes the importance of teamwork and precision.
Marketers and bloggers can leverage the high-quality PNG files for content creation. Use the transparent background images to create eye-catching graphics for social media posts, email newsletters, or blog headers. This consistent visual branding helps build recognition and engagement during the Halloween season. By integrating the digital assets into your marketing funnel, you create a cohesive narrative that extends from your physical products to your online presence.
Long-Term Value and Storage
One of the advantages of purchasing comprehensive digital bundles is their reusability. Unlike physical templates that wear out, digital files remain pristine indefinitely. Store your SVG, EPS, and AI files in a cloud-based organization system with clear tagging. This allows you to quickly retrieve the Happy Halloween layered papercut SVG for future projects or modifications. You might revisit the design next year with new color trends or adapt it for other holidays by changing the thematic elements while keeping the structural layering technique.
By treating these digital assets as part of a long-term resource library, you maximize your return on investment. Regularly update your material inventory based on the demands of these designs, and refine your assembly techniques with each project. Over time, this iterative process leads to higher quality outputs, faster production times, and a more professional portfolio.
In conclusion, the Halloween Paper Cut Layered Design is more than a festive decoration; it is a versatile tool for creative expression and commercial production. By focusing on preparation, compatibility, and precise execution, you can harness the full potential of these layered assets. Whether you are crafting a single gift or producing a line of seasonal decor, the principles of workflow integration ensure that your projects stand out for their quality and craftsmanship.